Adding a Python 2.7 Kernel in Jupyter
2019-10-30
It can be tricky when someone asks you to use Python 2.7 in a jupyter notebook nowadays, but not impossible:
Up-to-Date Anaconda
Before we start installing anything, let’s update anaconda.
conda update conda
In case of error concerning setuptools, you may reinstall it before the update. In that case, the scripts would be
conda uninstall setuptools
conda install setuptools
conda update --force conda
Python 2.7 Environment
We need, of course, a brand new python 2.7 installed.
conda create -n py27 python=2.7
conda activate py27
where we name the new environment as “py27”. You can name it otherwise as you like.
New IPython Kernel
Last, let’s create the kernel we need.
(py27) conda install ipykernel
(py27) python -m ipykernel install --name Python2.7
(py27) conda deactivate
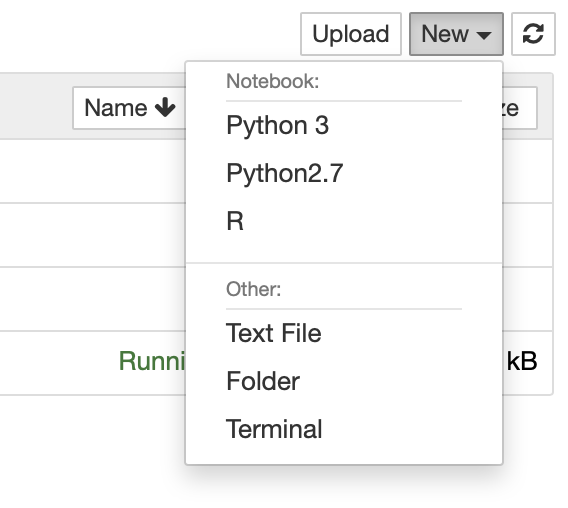
where we name the new python 2.7 kernel as “Python2.7”, which again can be named differently. If you now launch jupyter notebook from your terminal, you shall be able to see this “Python2.7” kernel right below the original one, usually named “Python 3”.

One More Thing
Although we’ve finished creating the python 2.7 kernel, there’s still something to carry in one’s mind. The fact is, since we are running everything within the “py27” conda environment, it is suggested that you install any new python 2.7 packages also within this environment, e.g.
conda activate py27
(py27) conda install xxx
(py27) ...
(py27) conda deactivate
